
Endlich ist Alpha 4.10 da und damit auch Siege of Orison v2. Klar haben wir in der Orga schon zwei bis drei Versuche im PTU unternommen, aber die fanden ganz am Anfang des „Open For All“-Tests statt und waren... schrecklich!
Jetzt aber, endlich auf den LIVE-Servern, sind wir es angegangen und haben es geschafft!
Im Gegensatz zu früher ist das Ganze kein riesiger Schauplatz mehr, auf dem sich alle Spieler gleichzeitig tummeln – was meistens nach zwei Tagen nur dazu geführt hat, dass Ganker die Oberhand hatten und einen direkt bei Ankunft an der Solanki-Plattform ins Kreuzfeuer nahmen. Jetzt sind es Instanzen für bis zu vier Spieler gleichzeitig. Kein wildes Kreuzfeuer mehr, kein ständiges „Friend or Foe?“ bei jedem Spieler im Hinterkopf, den man sieht.
Angefangen hat es, wie leider so oft, erst einmal mit Warten – auf die anderen. Denn trotz ausgemachter Uhrzeit müssen, wie so üblich, alle anderen erst noch ihre Ausrüstung vorbereiten. Wird sich wohl nie ändern 😅.
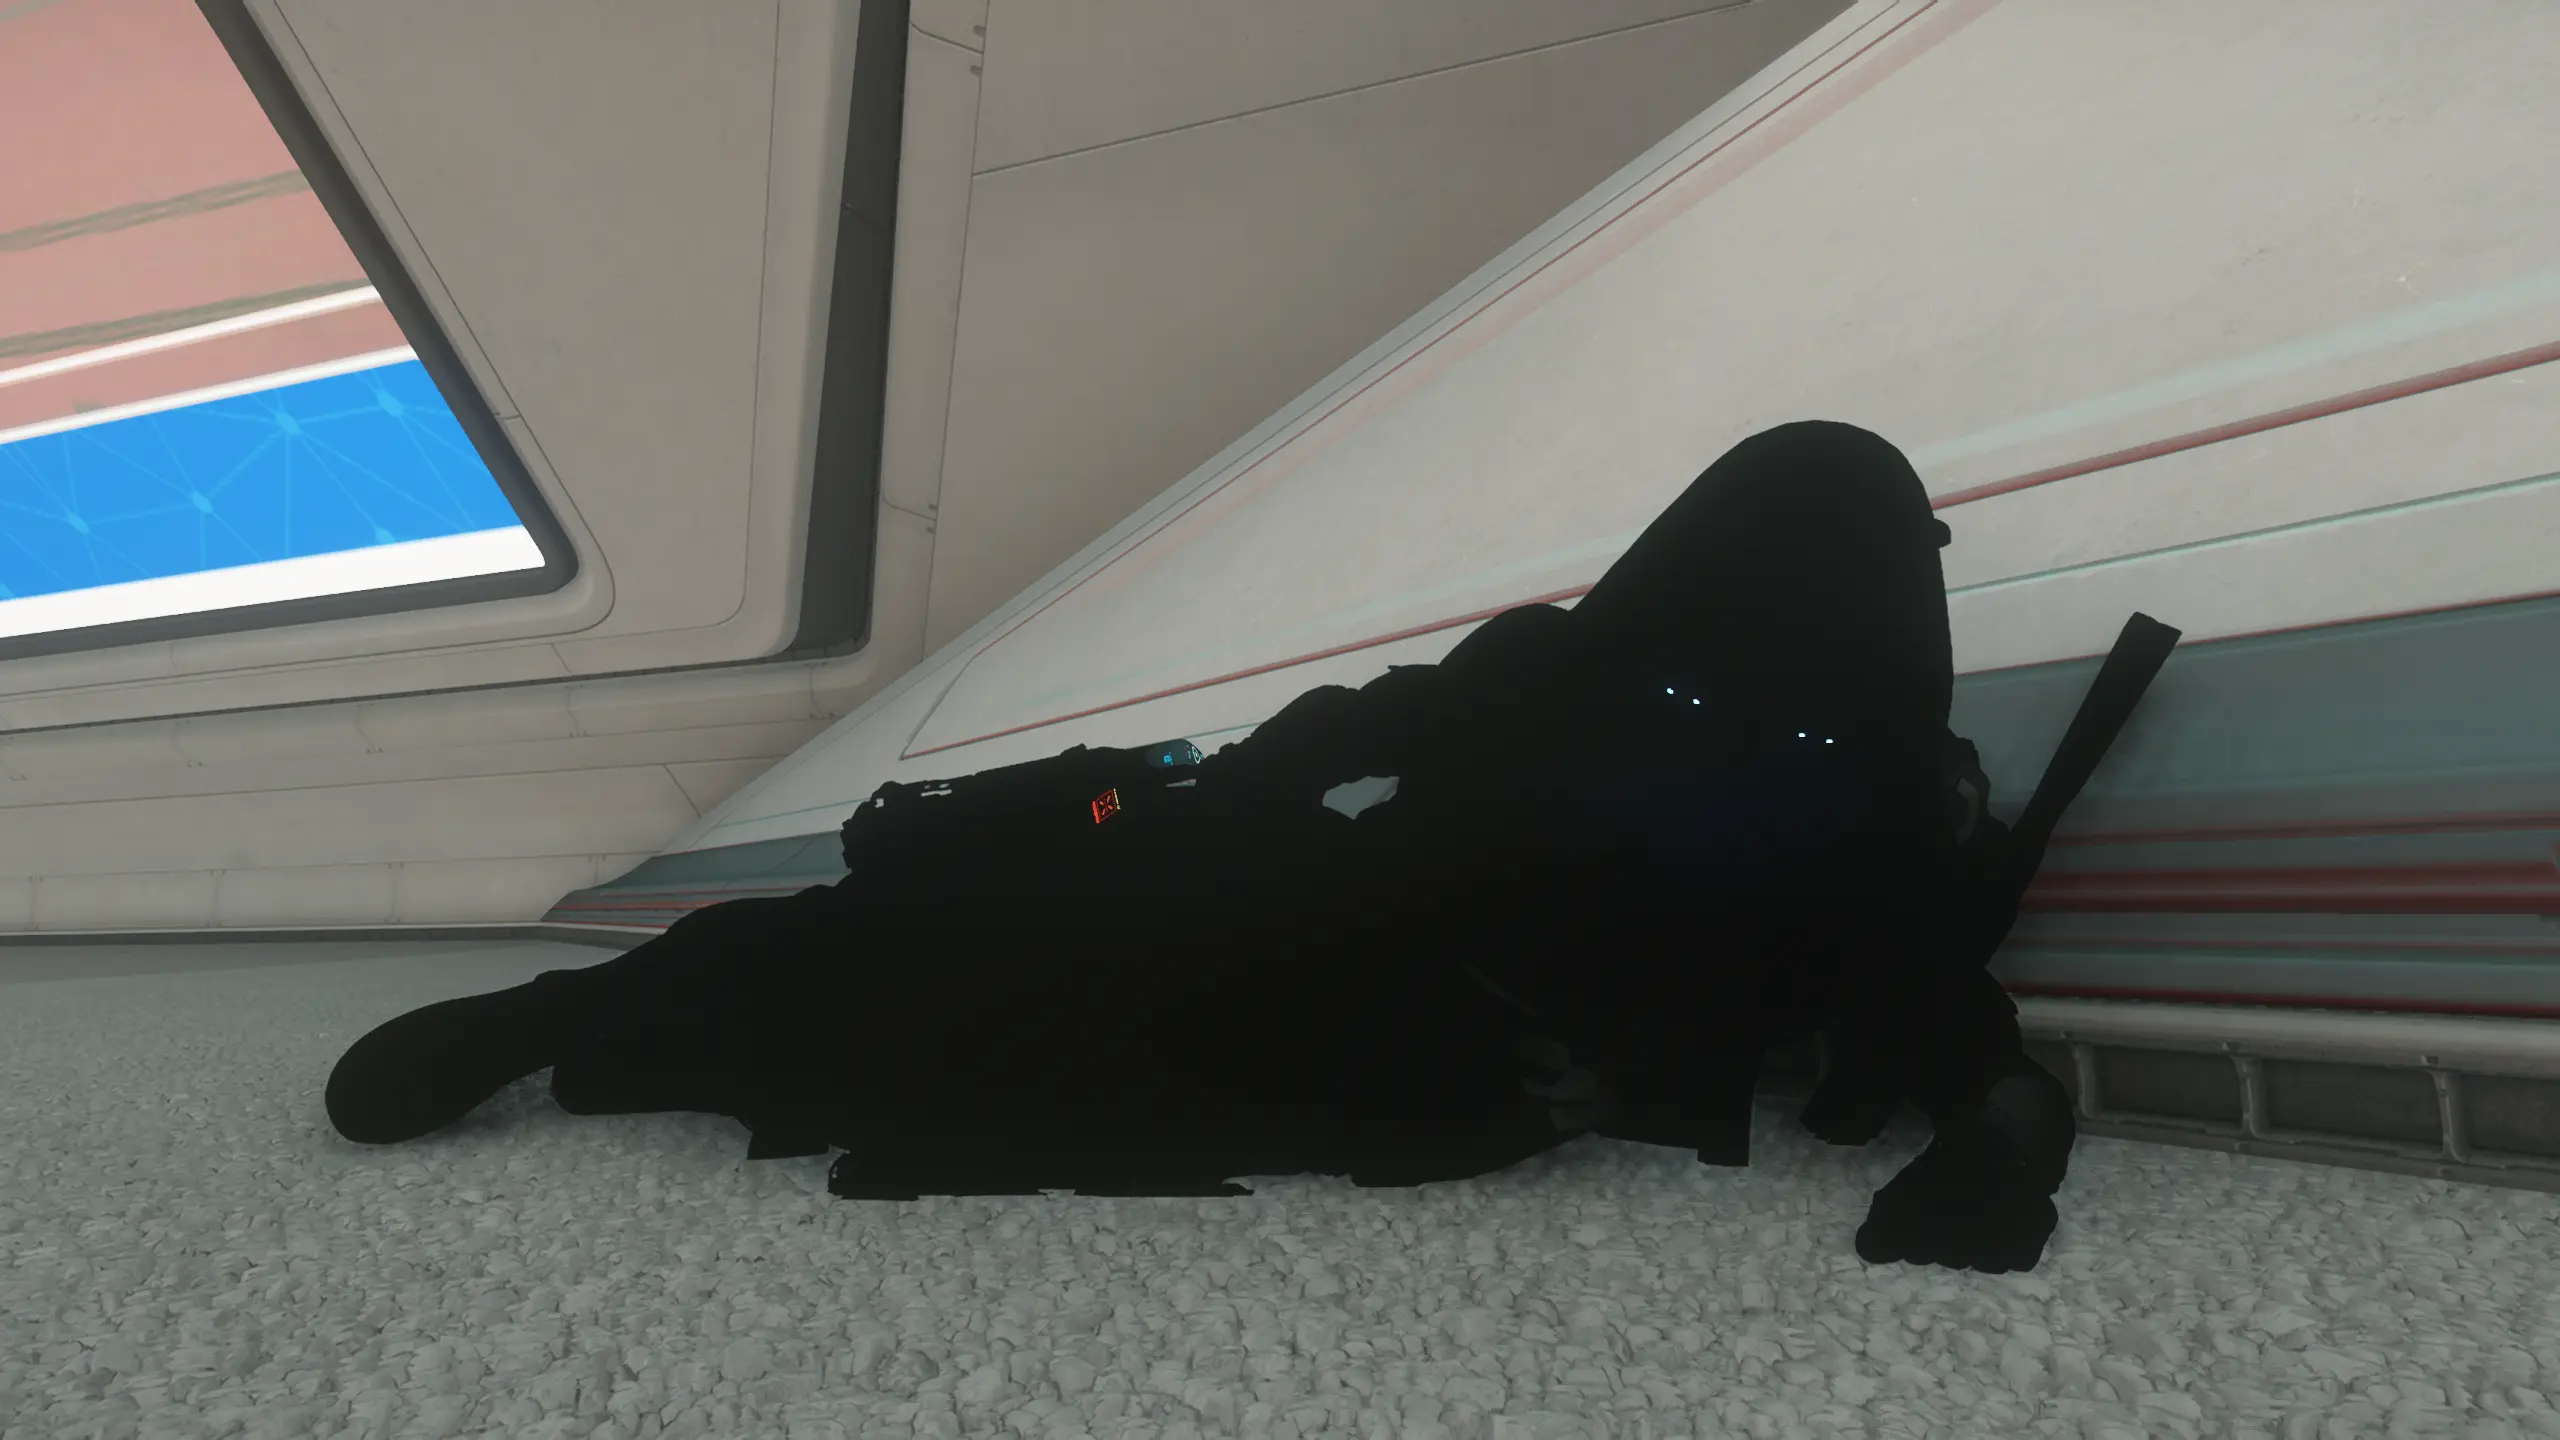
Dadurch hatte man viel Zeit, sich mal wieder in Orison auszutoben, und ja... ich habe einen lustigen Bug bei der Beleuchtung gefunden! Sah leider nur für mich selbst so aus, alle anderen sahen mich ganz normal. Naja, wenn ich eine schwarze Geist haben will, sollte ich vielleicht nicht die Snow-Cameo tragen, oder?
Nachdem wir uns endlich alle gesammelt hatten, ging es via Shuttle zum Arrival Center. Dort angekommen, beim Sprint zu den Aufzügen, schoss mir ein Finley-Plüschie auf einer der Sitzgelegenheiten ins Auge – und der trug Kopfhörer!
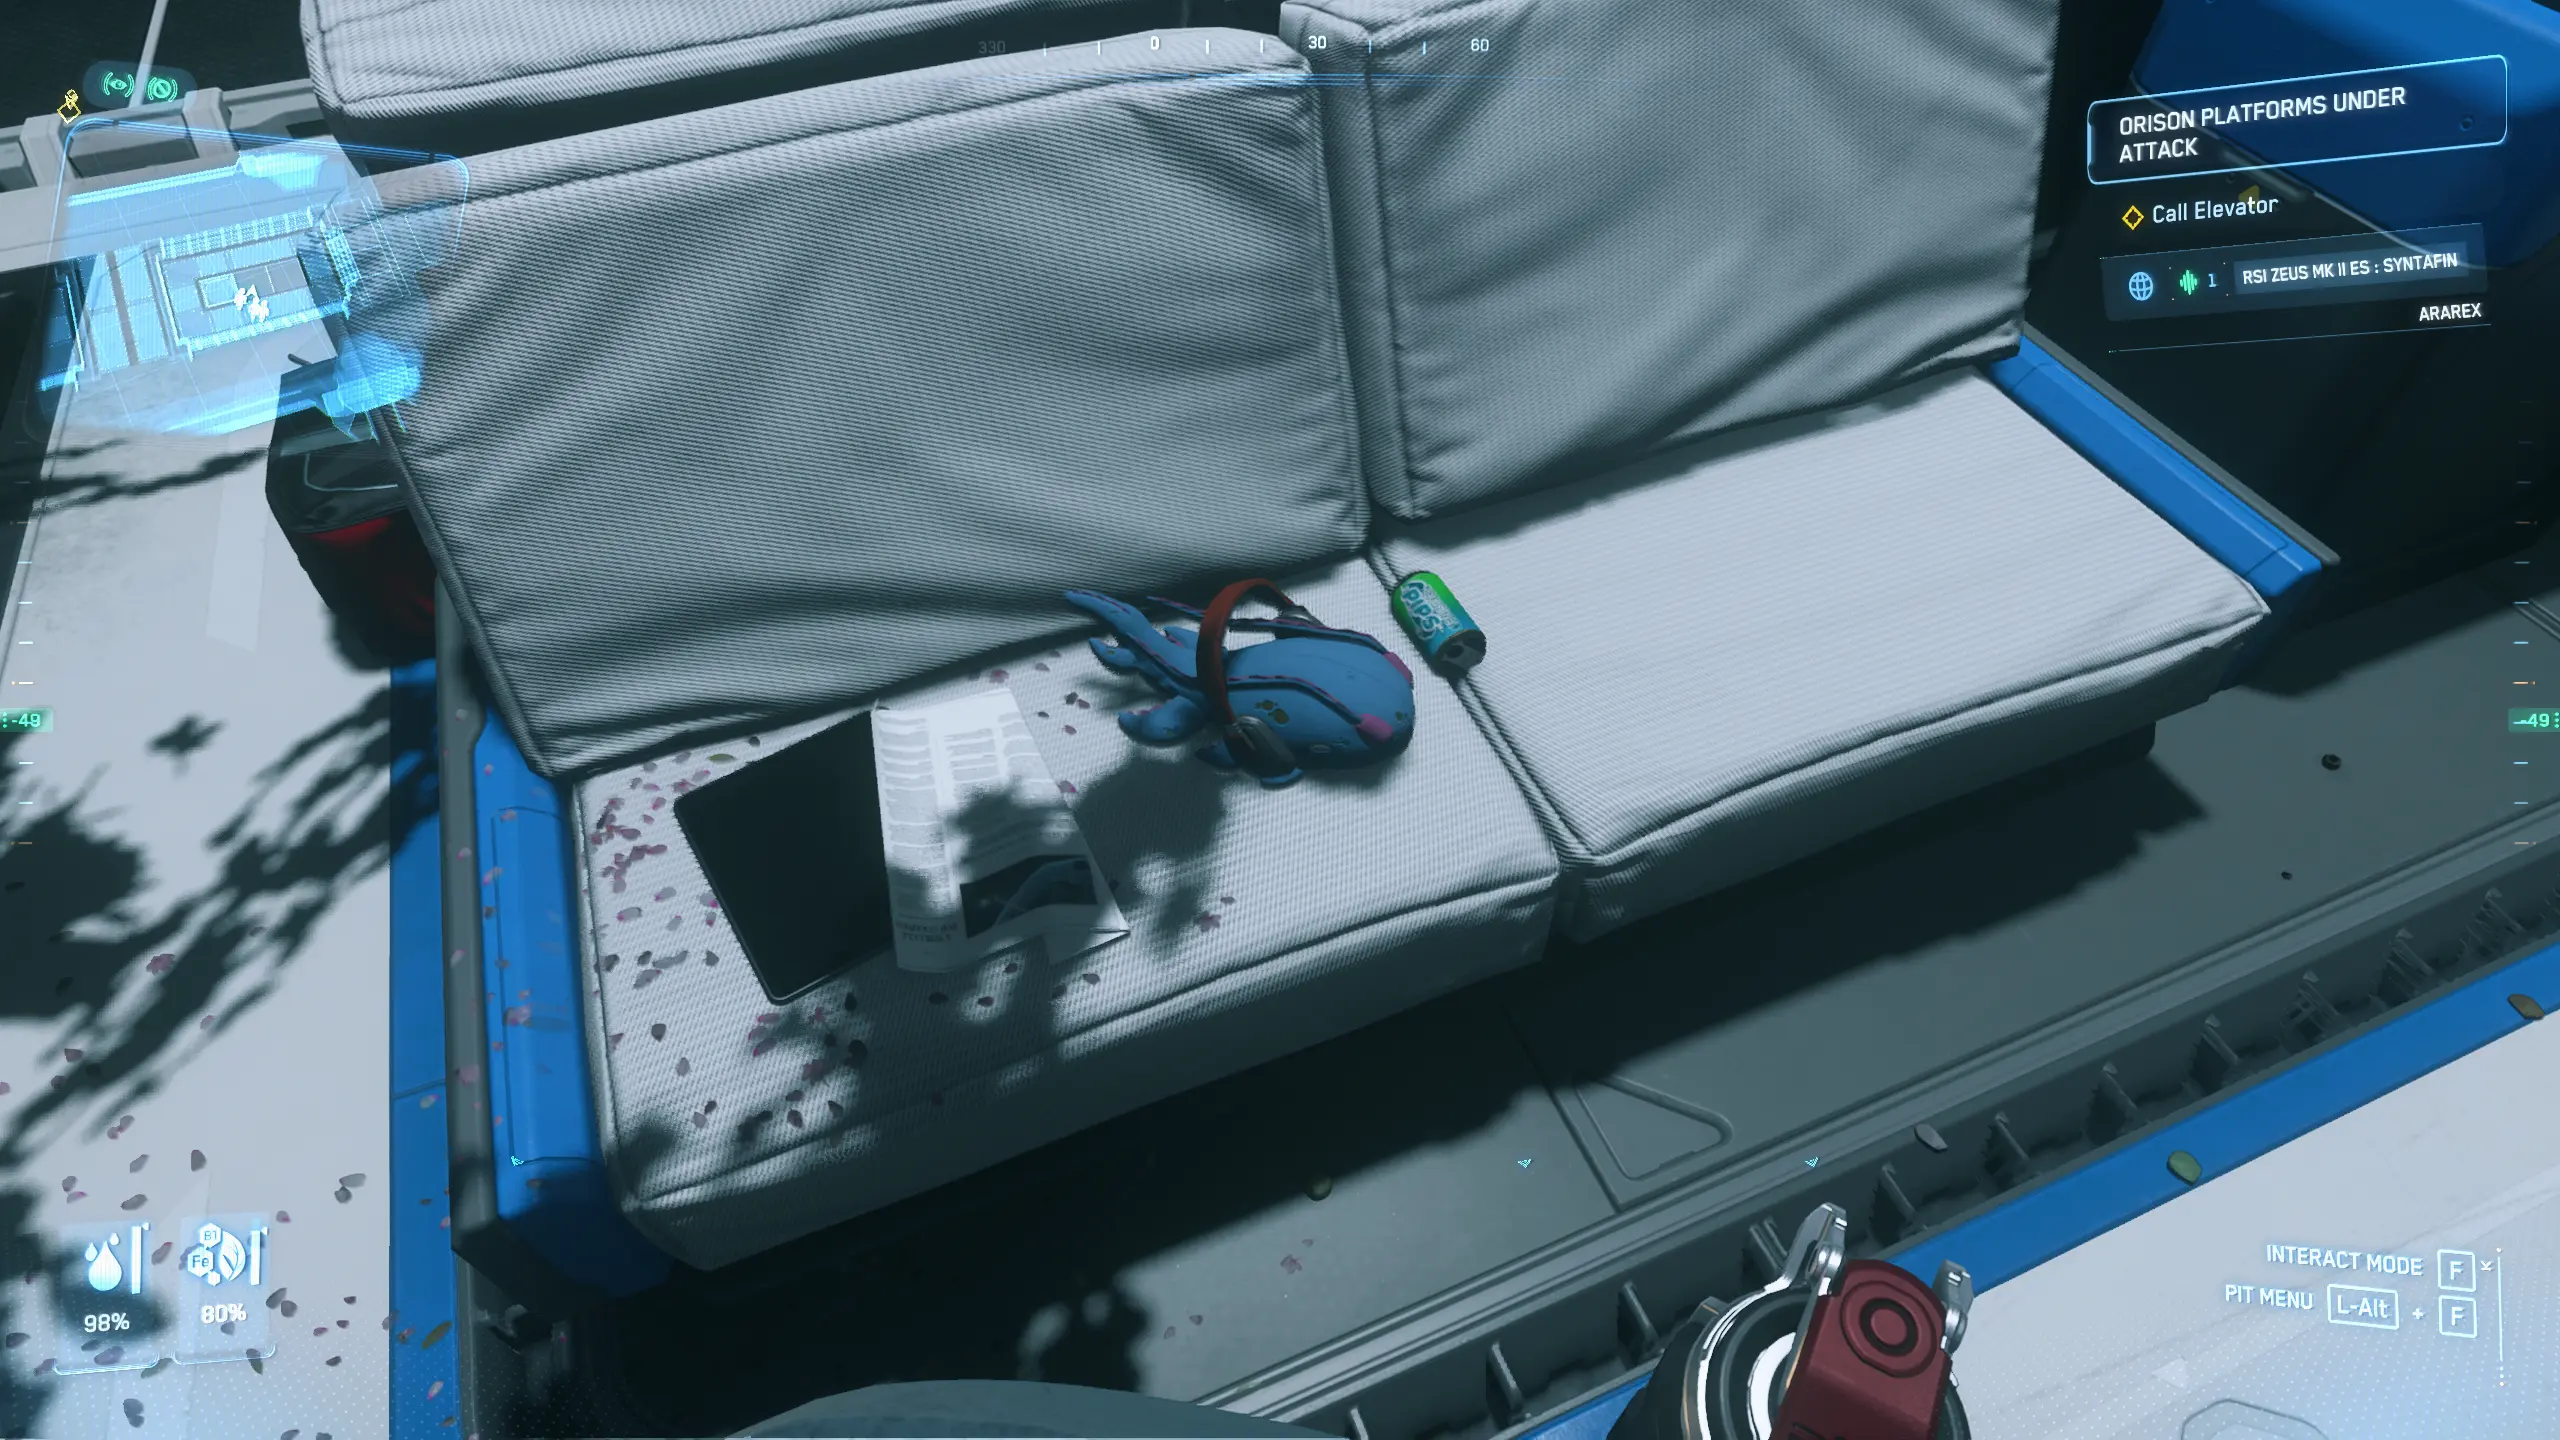
Ich mein ... wtf? Von allen Orten ausgerechnet hier 🤣. Ich konnte einfach nicht anders, als dem Kleinen einen Screenshot zu gönnen.
Wer bisher aufgepasst hat, hat etwas bemerkt: Ja, ich trage eine leichte Rüstung, denn für mich überwiegen die Vorteile die Nachteile – und jede Rüstung hat ihre Vor- und Nachteile!
Der größte Nachteil einer leichten Rüstung? Kommt man mal auf die dumme Idee, einen auf Leroy Jenkins zu machen, zahlt sich das gerade bei Siege of Orison direkt negativ aus...
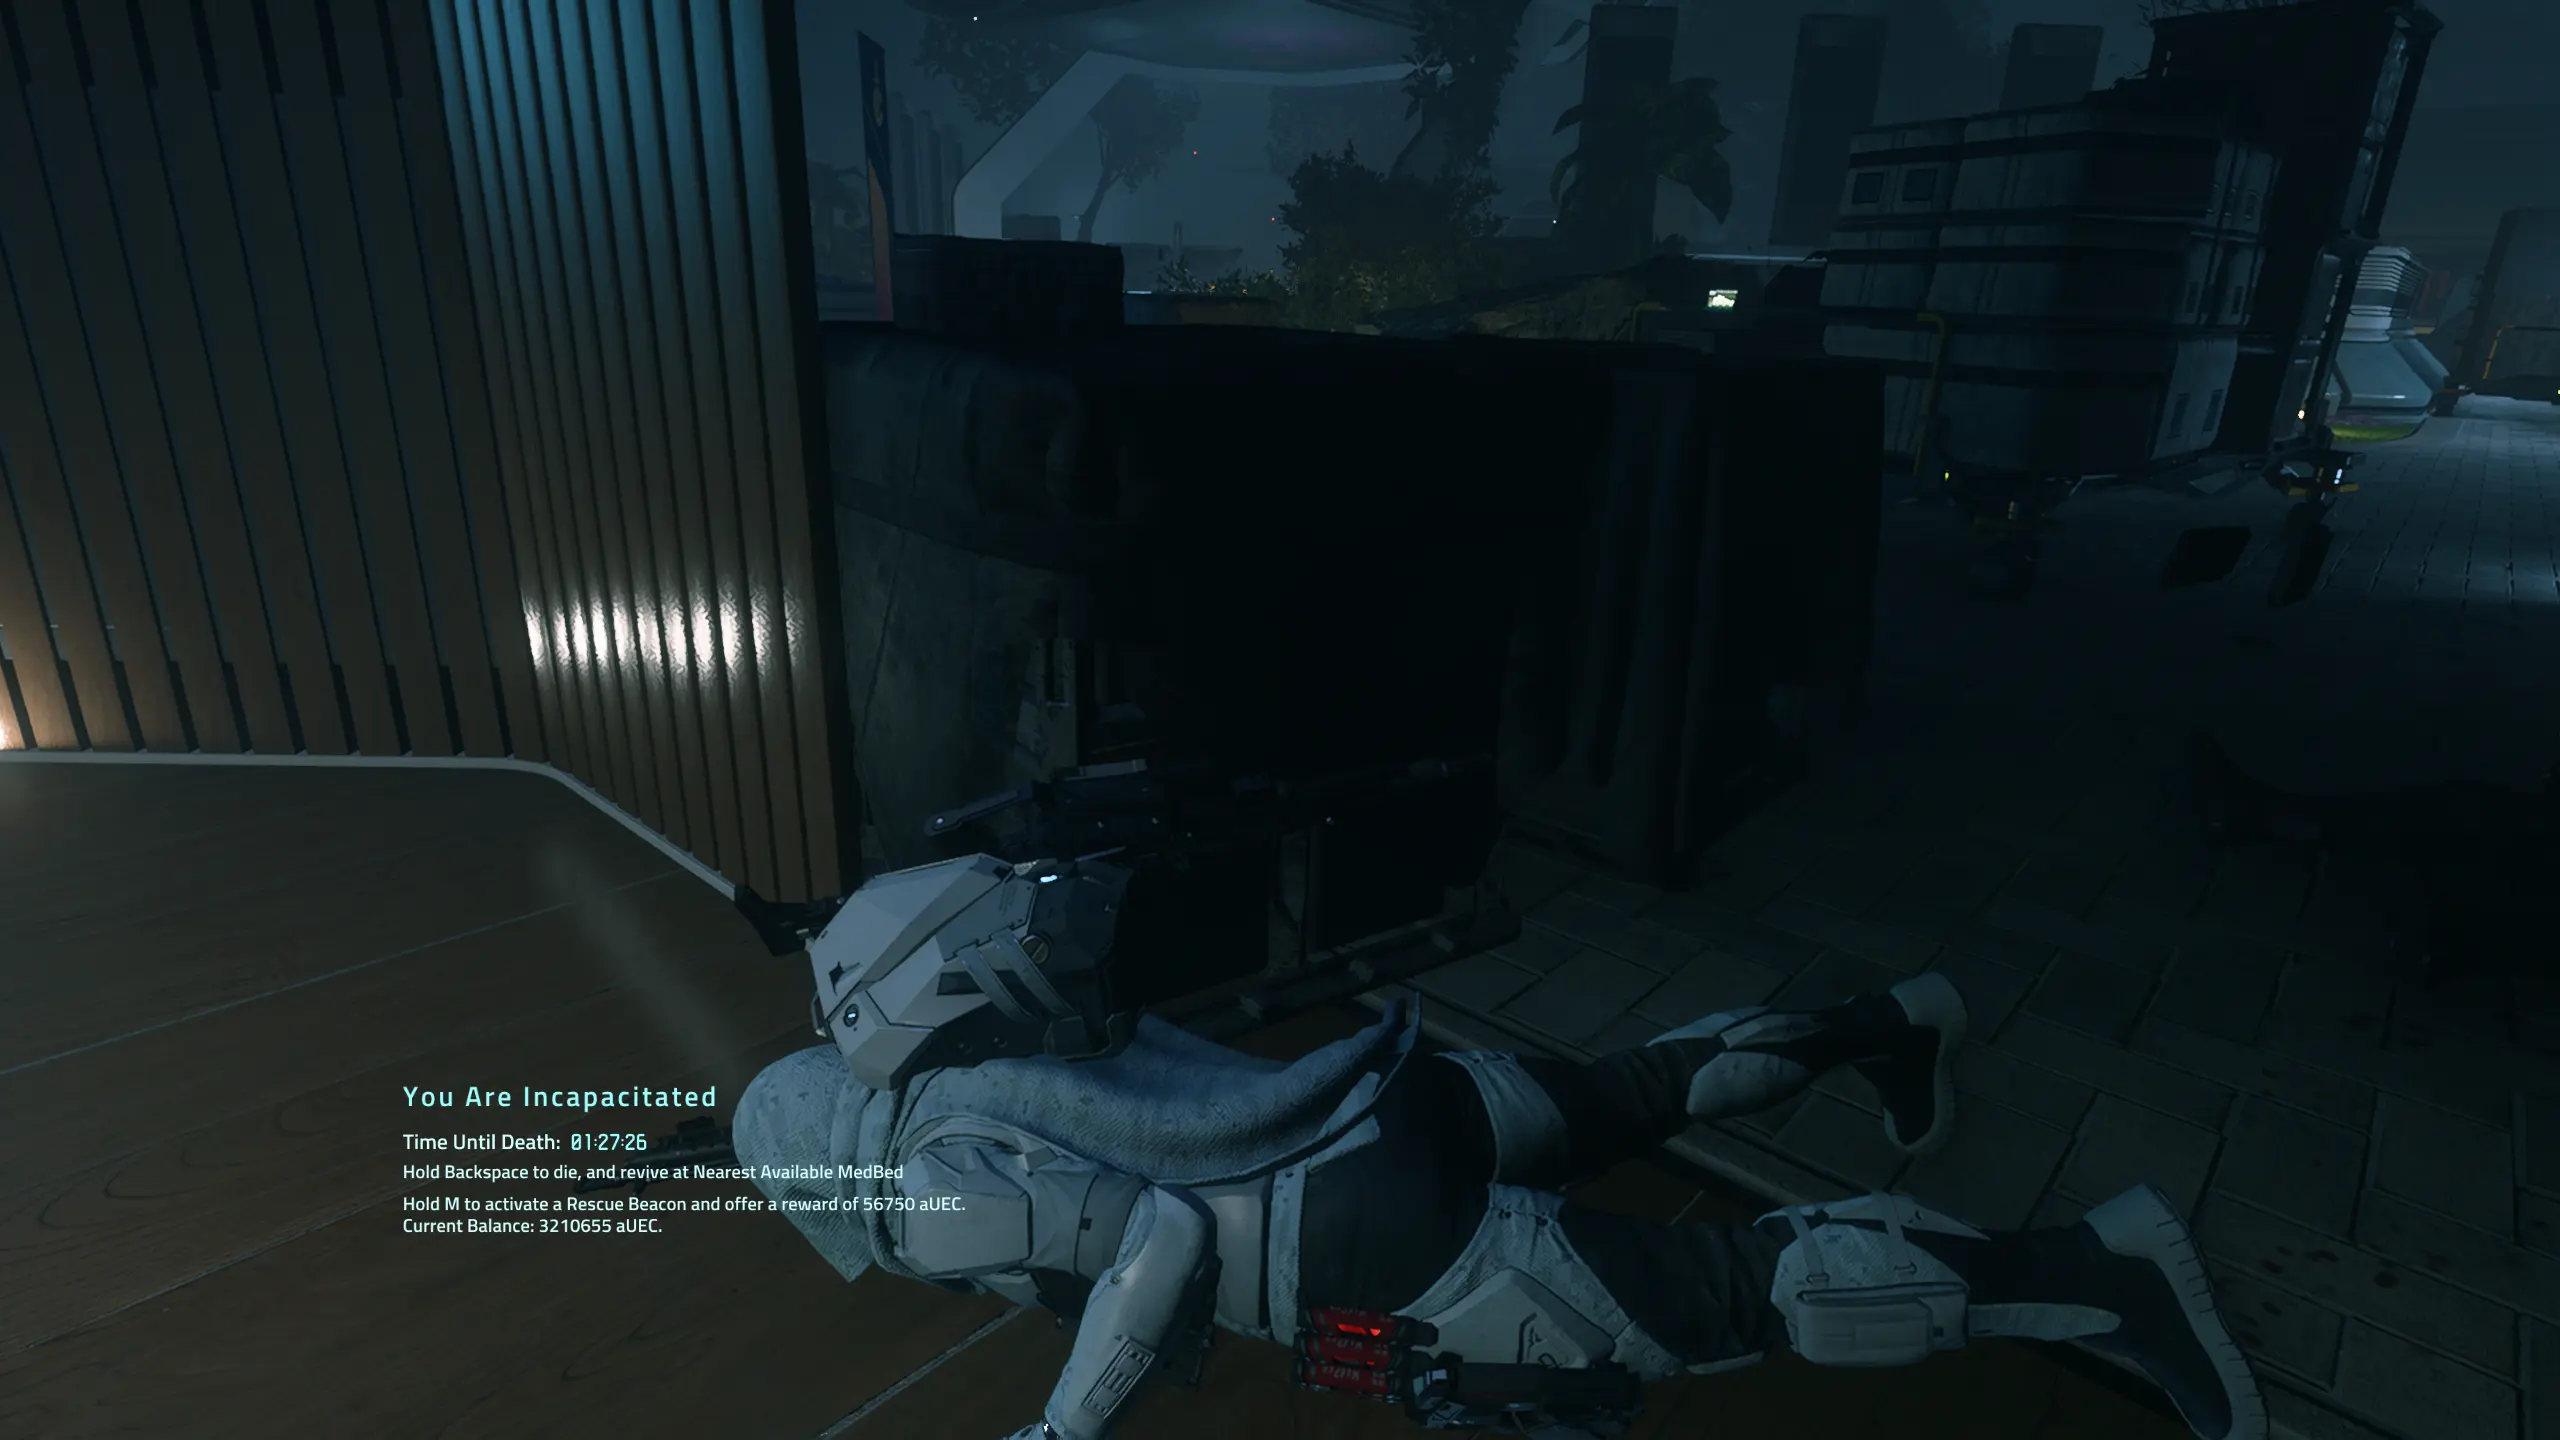
Da ging der Übermut mit mir durch, gerade weil zuvor ein Überraschungsangriff nach der Methode „einfach mitten rein“ (über die Mauer klettern, mitten in die Gegner und hoffen, dass man schneller als sie ist) noch wunderbar funktioniert hatte. Nur fünf Minuten später wurde ich eines Besseren belehrt.
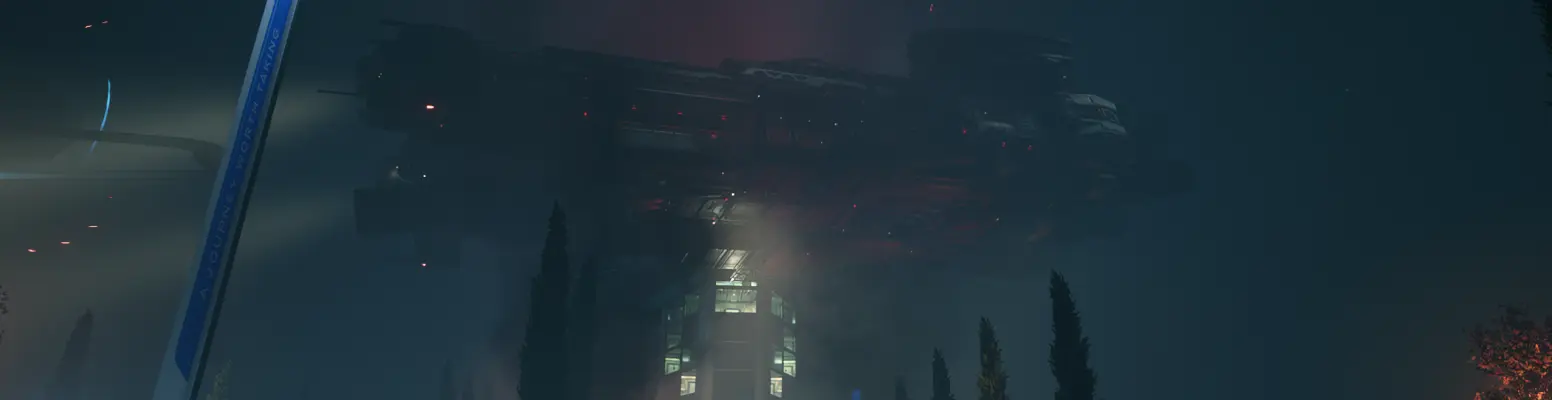
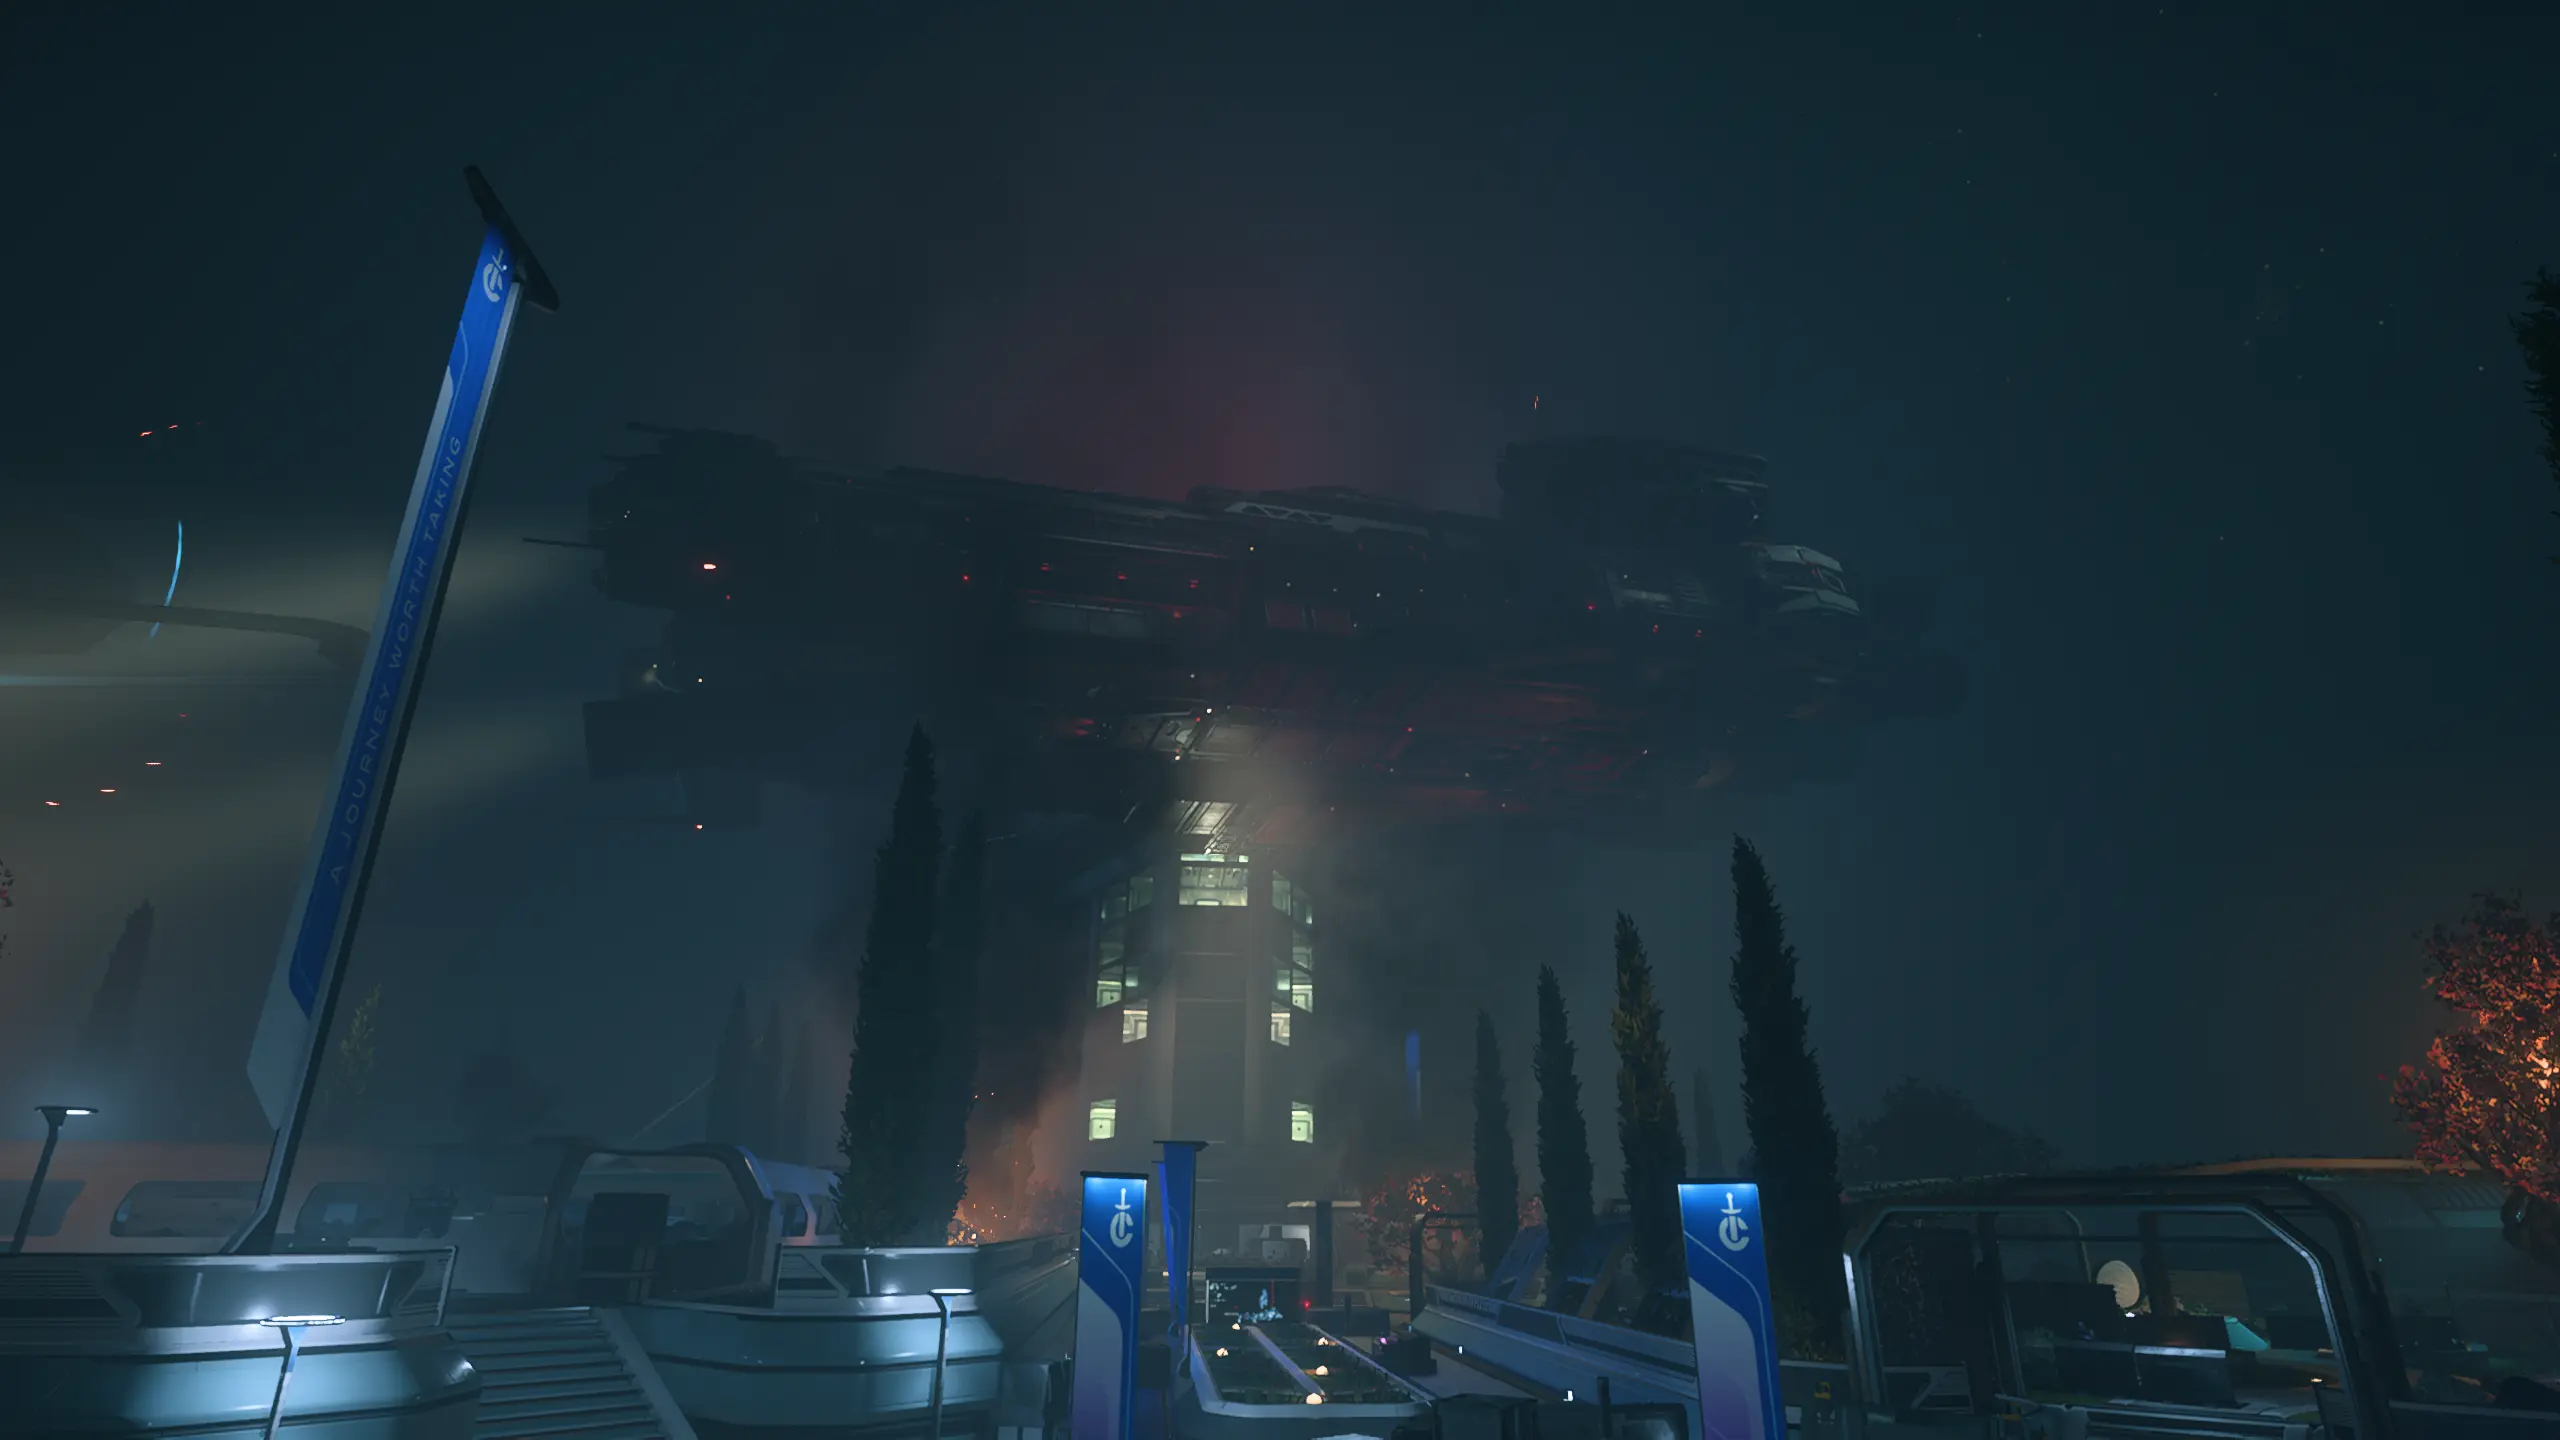
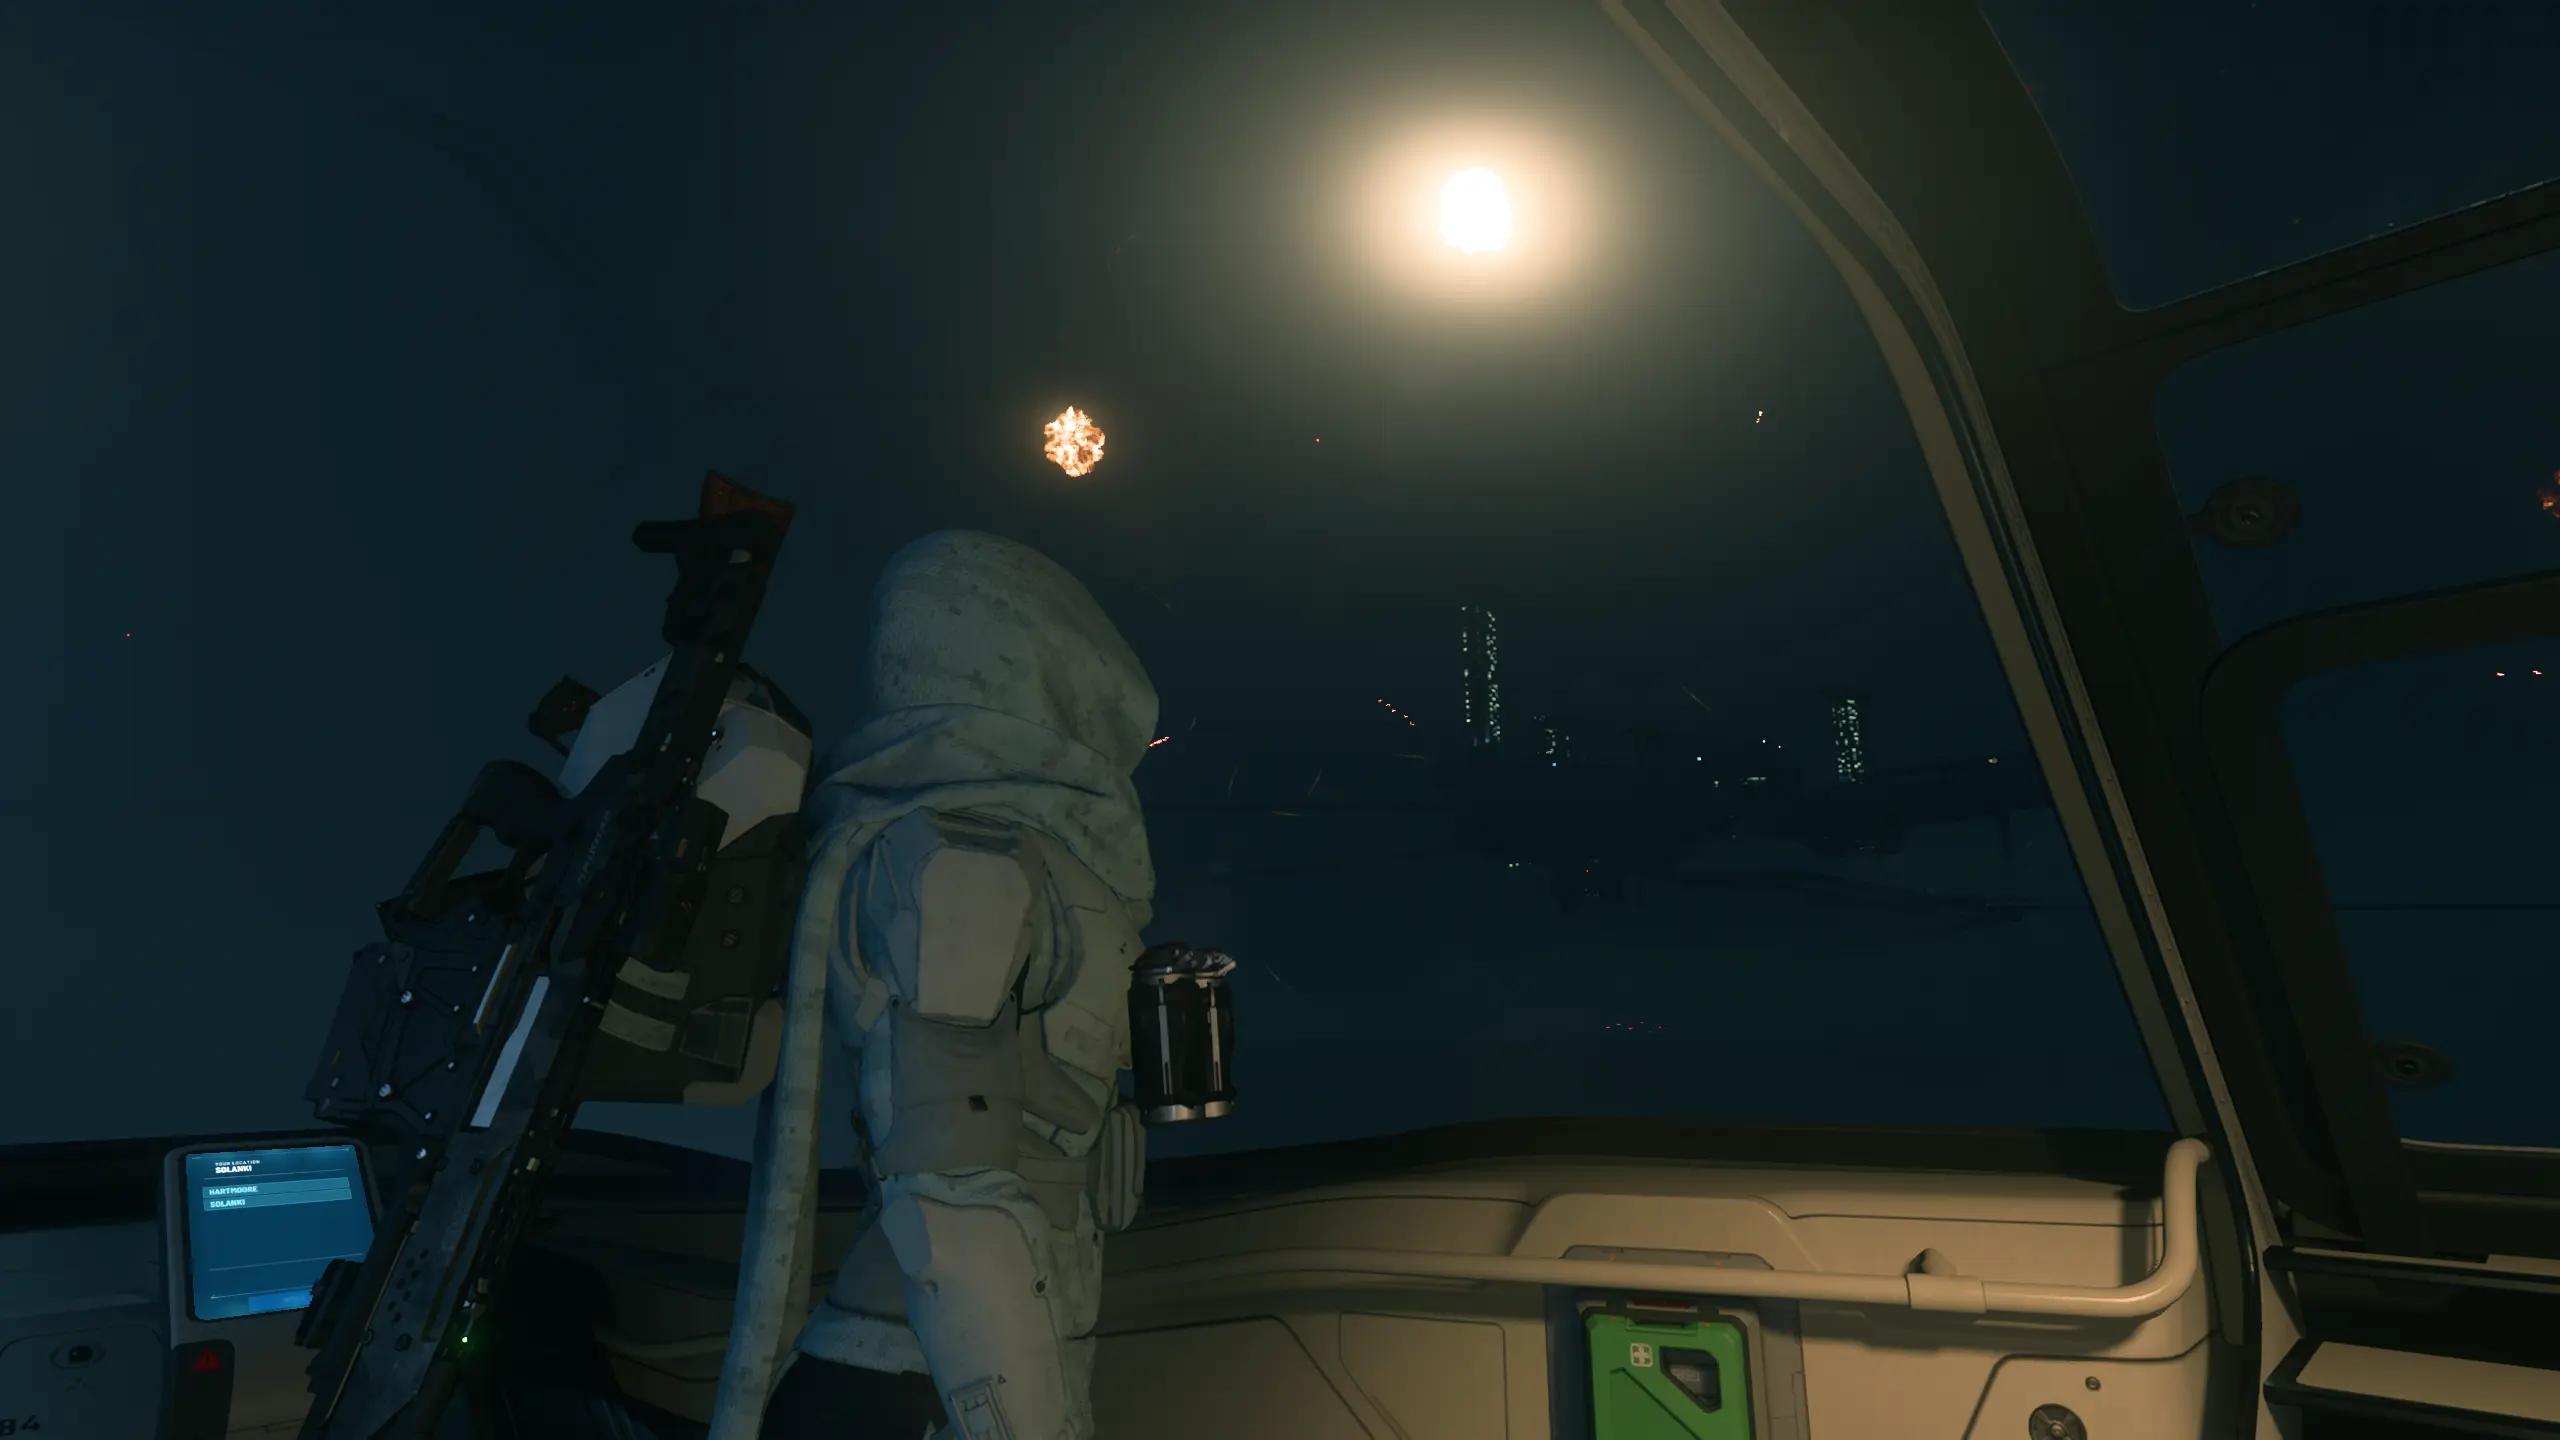
Beim Flug von Solanki nach Hartmoore entfacht auch ein größerer Kampf um einen herum in der Luft. Gerade wenn es Nacht ist, bietet sich ein sehr beeindruckendes Spektakel. Vor allem, wenn man auf Hartmoore ankommt, Cpt. Reynolds und ihre Truppe in den Hinterhalt geraten und man (weil man es zuvor nicht wusste) die riesige Ironclad erst über sich schwebend bemerkt. Ein Anblick, der mir seit dem ersten Versuch bis heute einfach gefällt und mich zum Staunen bringt.
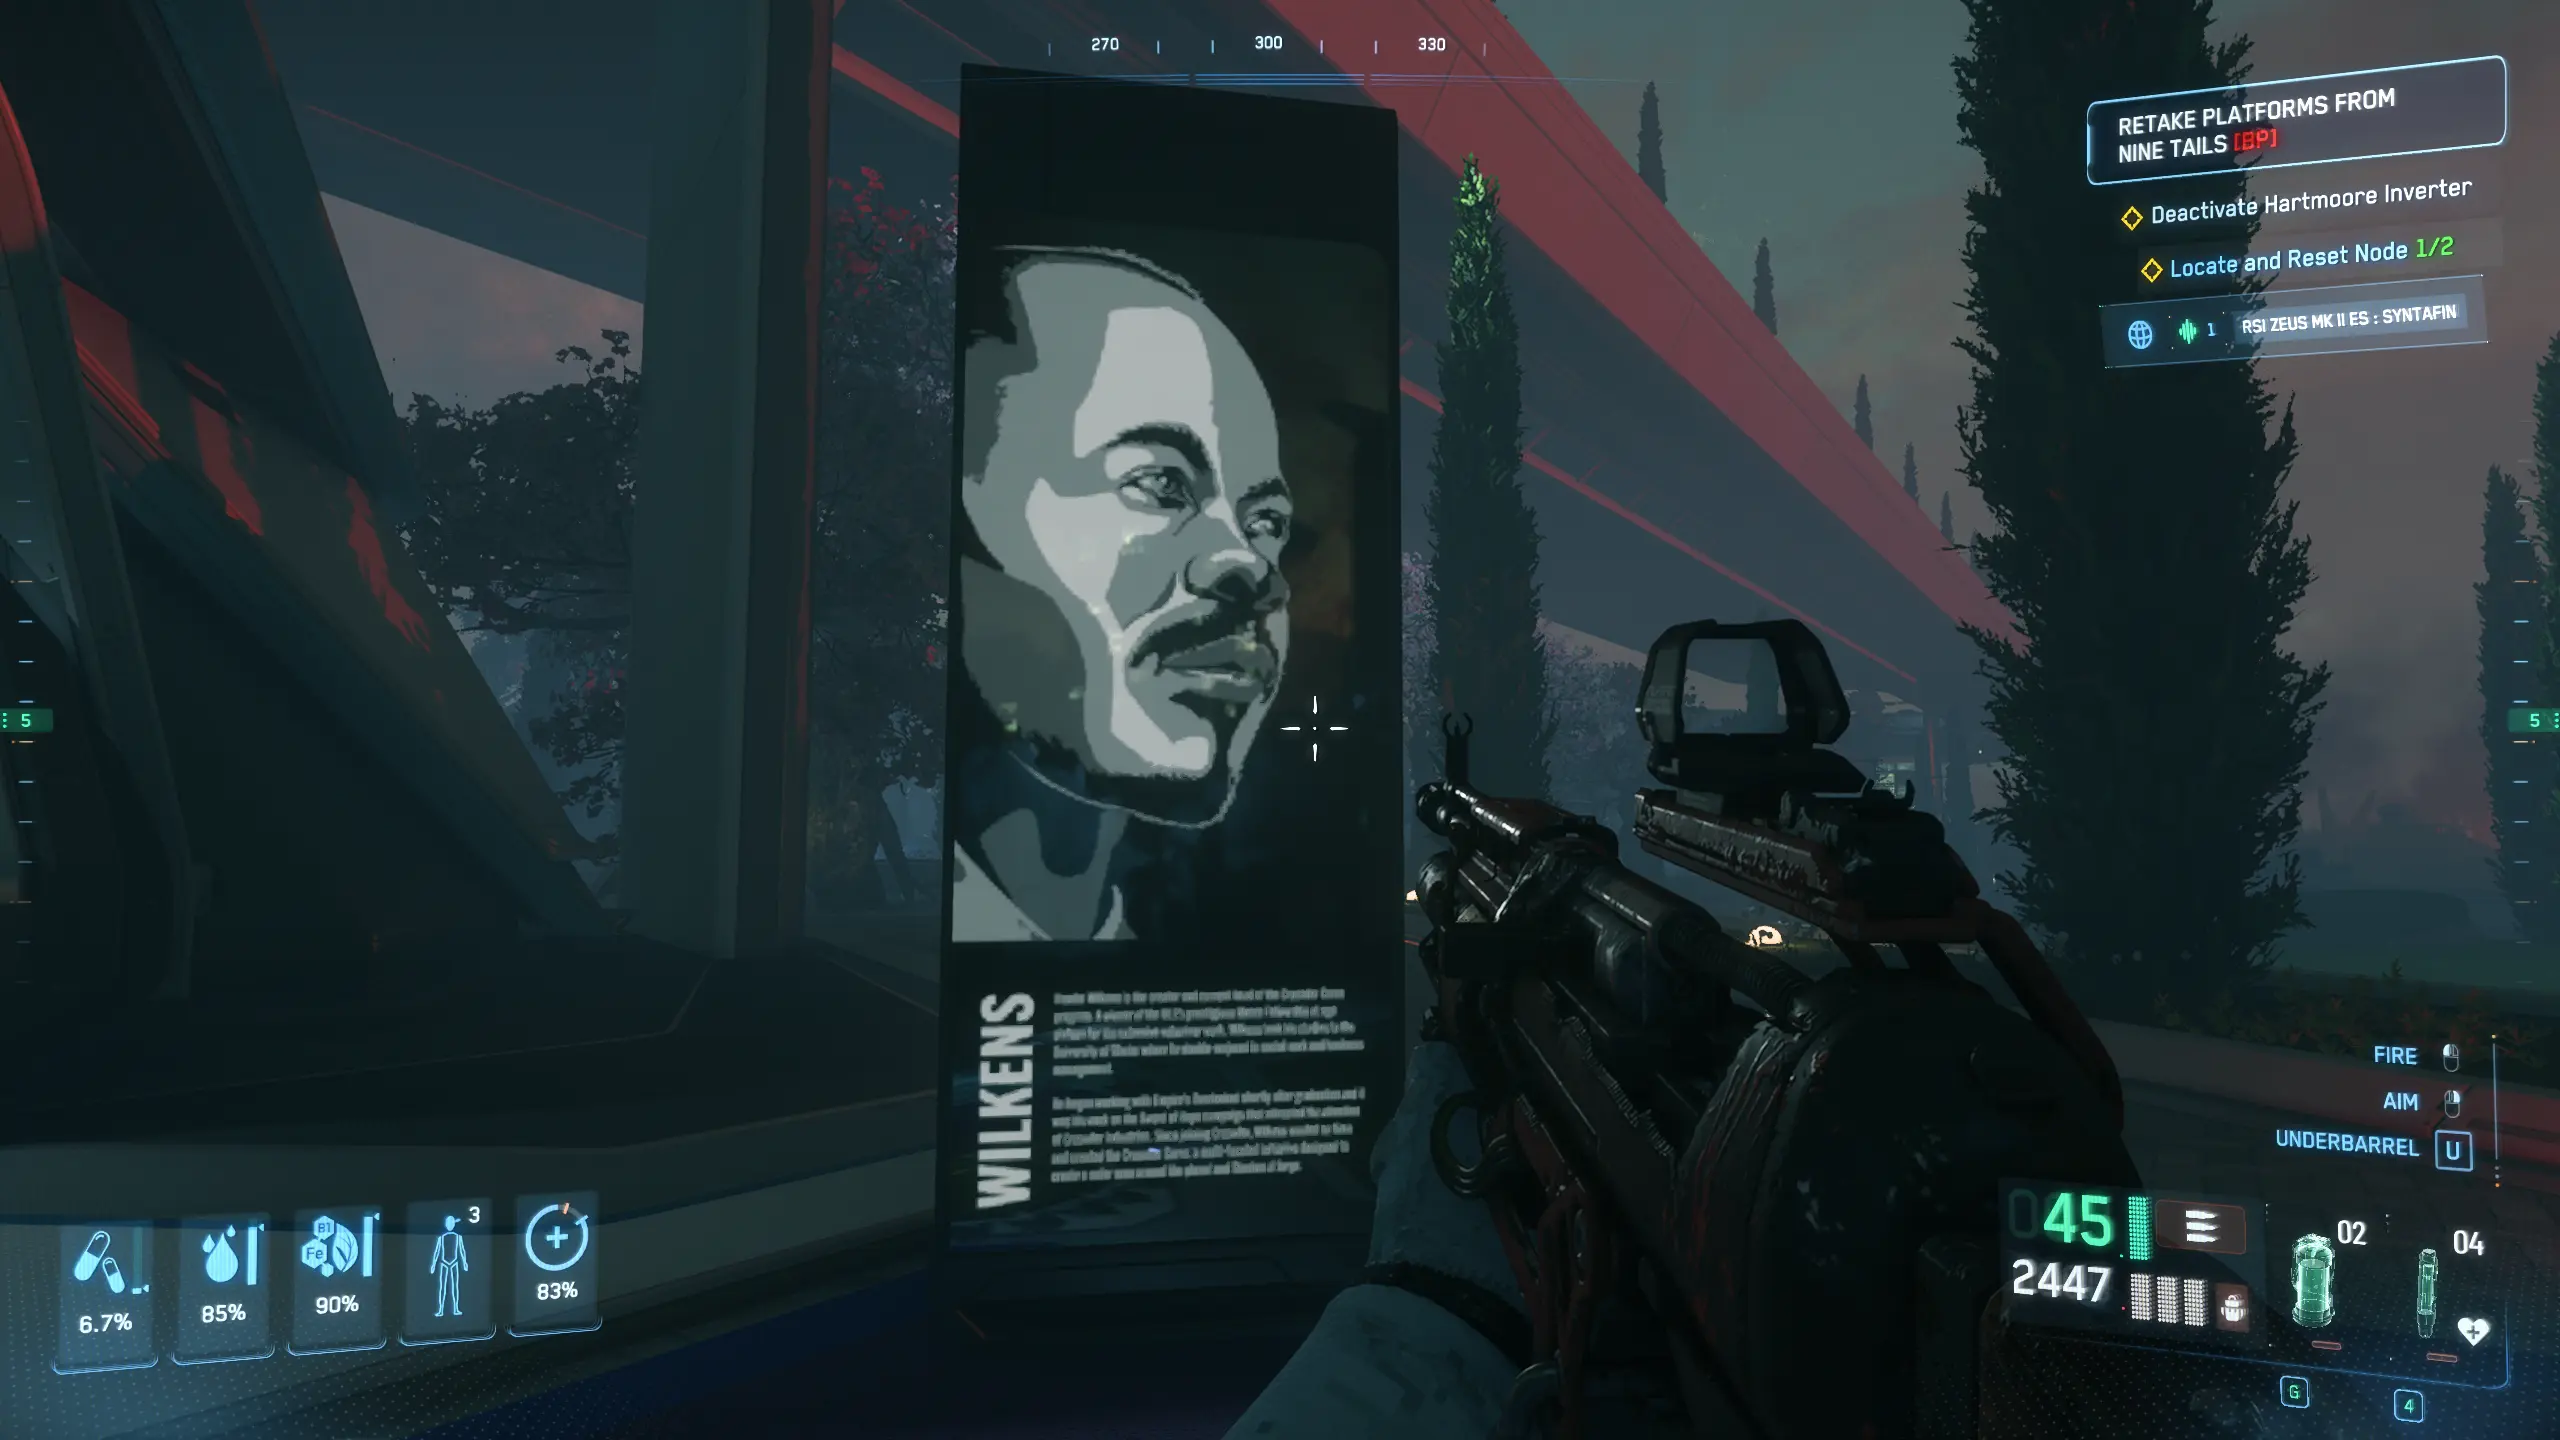
So ganz nebenbei lernt man auf Hartmoore auch einiges über die Geschichte von Crusader. Leider hatten wir keine Zeit, uns die Infotafeln der verschiedenen Gründer und Mitarbeiter genauer anzuschauen – schließlich waren überall noch die 9Tails verstreut.
Nachdem wir sowohl auf Solanki als auch auf Hartmoore den IFF-Inverter deaktiviert hatten, konnten wir via Shuttle zur Barge fliegen, die zuvor von den 9Tails gekapert worden war, um beim Anflug die Sicherheitsvorkehrungen zu umgehen.
Wer hier ein wenig die Augen offen hält, kann sich mit einer P6-LR das Leben dort unten zwischen all den Containern deutlich leichter machen: Man erledigt die Gegner, die einem vor den Lauf laufen, einfach aus sicherer Entfernung.
Unten auf der Barge angekommen, wartet die letzte Herausforderung vor dem großen Kampf gegen den Boss: ein echtes CQB mitten zwischen all den Containern. Wer hier nicht aufpasst, liegt schneller im Dreck, als ihm lieb ist. Aber vielleicht passiert das selbst mit Vorsicht, denn teils haben die Gegner schlichtweg die Überhand bei Anzahl oder Position.
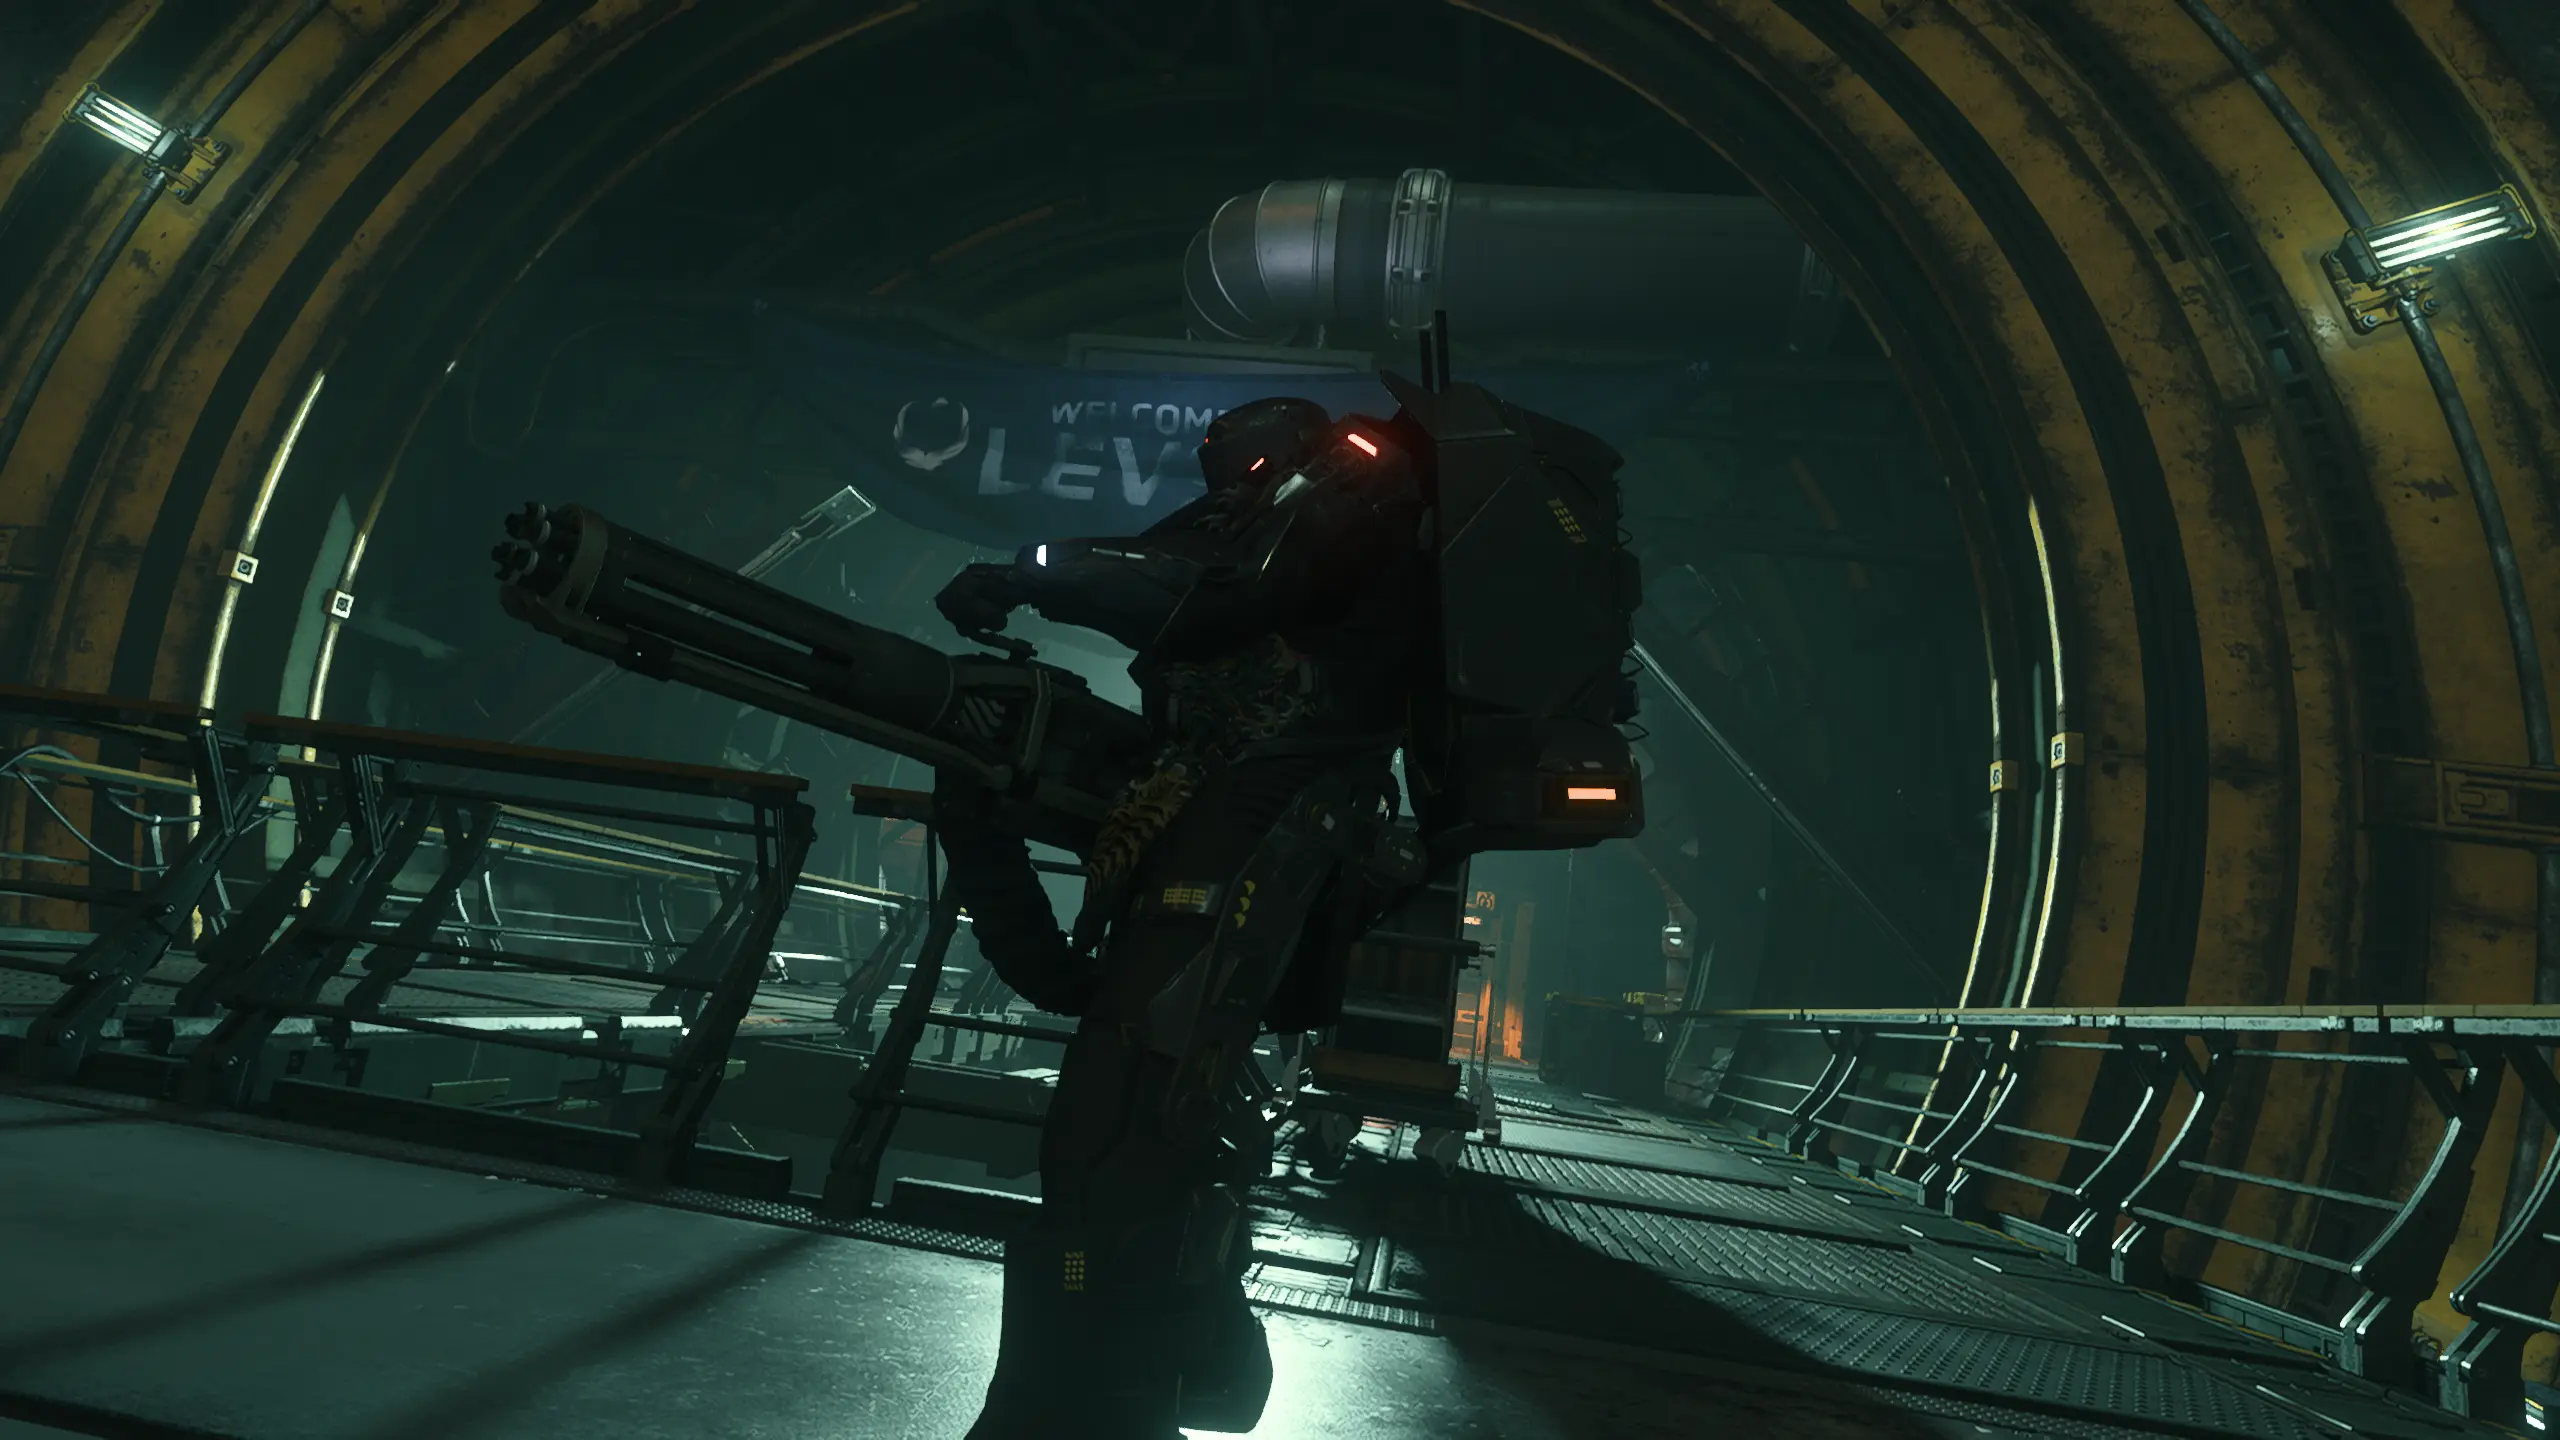
Ist all das geschafft, kann man endlich den Kontrollraum betreten. Hier geht es nun richtig zur Sache: Wir müssen Mendo Ren ausschalten – und der macht es einem natürlich nicht leicht!
Er selbst ist mit seiner extrem schweren Rüstung ordentlich gegen Kugelhagel und anderes gefeit und nimmt uns mit seinem schweren Maschinengewehr aufs Korn. Dazu kommen natürlich weitere 9Tails-Soldaten, die ihn unterstützen.
Der Kampf besteht derweil aus drei Phasen, die jeweils durch den temporären „Tod“ von Mendo Ren ausgelöst werden (man erhält einen entsprechenden Marker). Daraufhin verzieht sich Mendo Ren und löst eine Kernschmelze aus: erst bei einem der drei Reaktoren, dann bei zweien und zuletzt bei allen dreien.
Schafft man es nicht, diese zu stabilisieren, stirbt man entweder an der Strahlung oder, wie wir vermutet haben, an der Explosion! Ob das wirklich zutrifft? Keine Ahnung, so weit kam es zum Glück nie.
Ein Glück war für uns auch, dass wir insgesamt wohl drei Anläufe brauchten, um Mendo Ren zu besiegen. Beim ersten Mal sind wir planlos reingestürmt ... war dumm von uns. Aber man lernt ja aus Fehlern. Durch unseren gemeinsamen Respawn und das Zurücksetzen des Kampfes bewegte sich Mendo Ren zwar noch, reagierte aber nicht mehr. Das hieß: Unsere größte Sorge – dieses verdammte HMG – war erledigt, und so konnten wir ihn letztlich besiegen.
Nicht sehr ehrenvoll, aber es war ja nur das erste Mal. Beim nächsten Mal läuft es besser, versprochen!
Nach dem Sieg über ihn und dem Ergattert-Haben der letzten Karte zum Deaktivieren des Inverters ist die Mission abgeschlossen – und natürlich kann man ihn looten! Zwar will und brauche ich sie nicht wirklich, aber nun besitze ich eine extraschwere Rüstung mit 9Tails-Verzierungen!
Oh, übrigens: Beim Rückflug nach Abschluss der Mission sieht man etwas Neues:
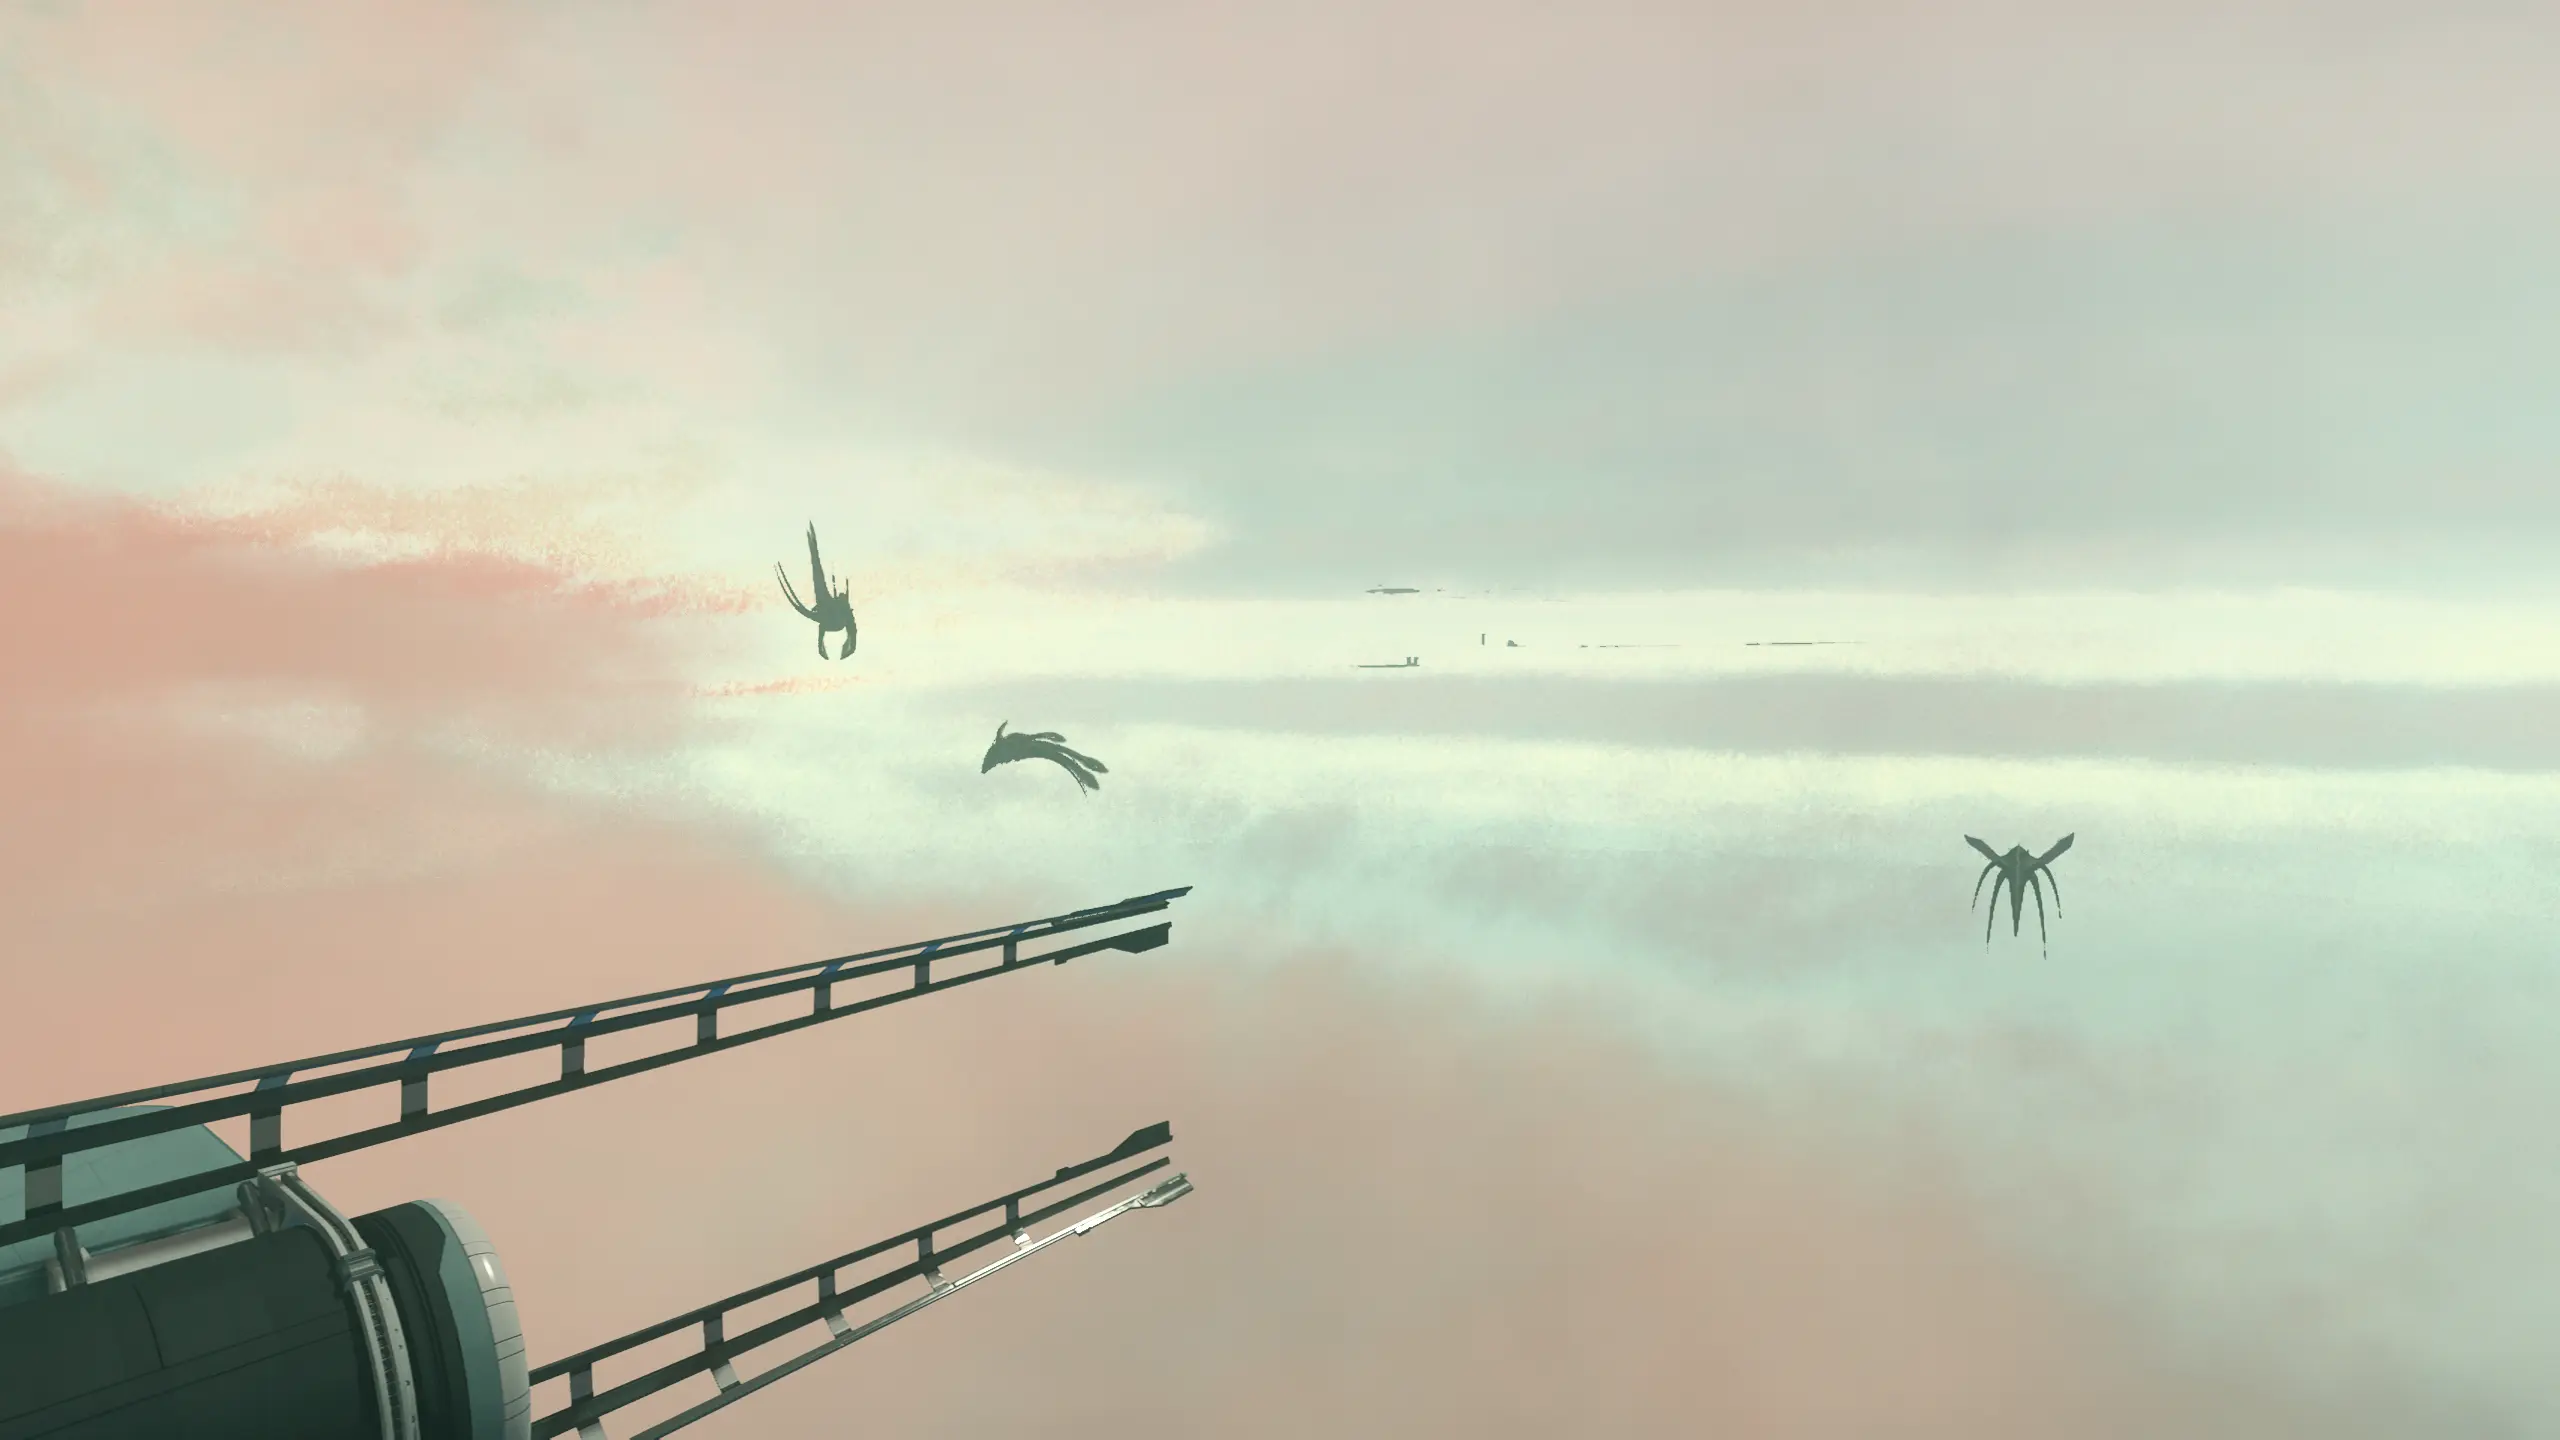
Space-Whales! Ich hoffe sehr, dass das in Zukunft nicht nur nach einem erfolgreichen Abschluss so ist, sondern dass sie bald „überall“ auf Crusader zu sehen sind – inklusive einer Shuttle-Strecke, auf der man sie aus nächster Nähe betrachten kann.
Alles in allem mag ich die neue Version von Siege of Orison sehr und werde sie in Zukunft noch öfter spielen. Nicht nur wegen des Loots und der recht guten Bezahlung (knapp eine Million aUEC), sondern schlicht, weil es Spaß macht.
Ich bin auch gespannt, ob wir bald die Municipal-Works-Aufträge in Levski (und auf ArcCorp) erhalten, denn die waren ja Teil der CitizenCon-Präsentation zum Thema Instanziierung. Klar ist soweit: Mit Alpha 4.11 wird das noch nicht kommen, denn da startet mit den drei Planeten in Nyx erst einmal das Genesis-Zeitalter.